














Practical guides for everyday life
Stargazing Without a Telescope: Plan Your First Evening Outside
Choose a safe observing spot, set one realistic target and keep a simple sky journal. A beginner’s plan for enjoying the night sky without buying equipment.
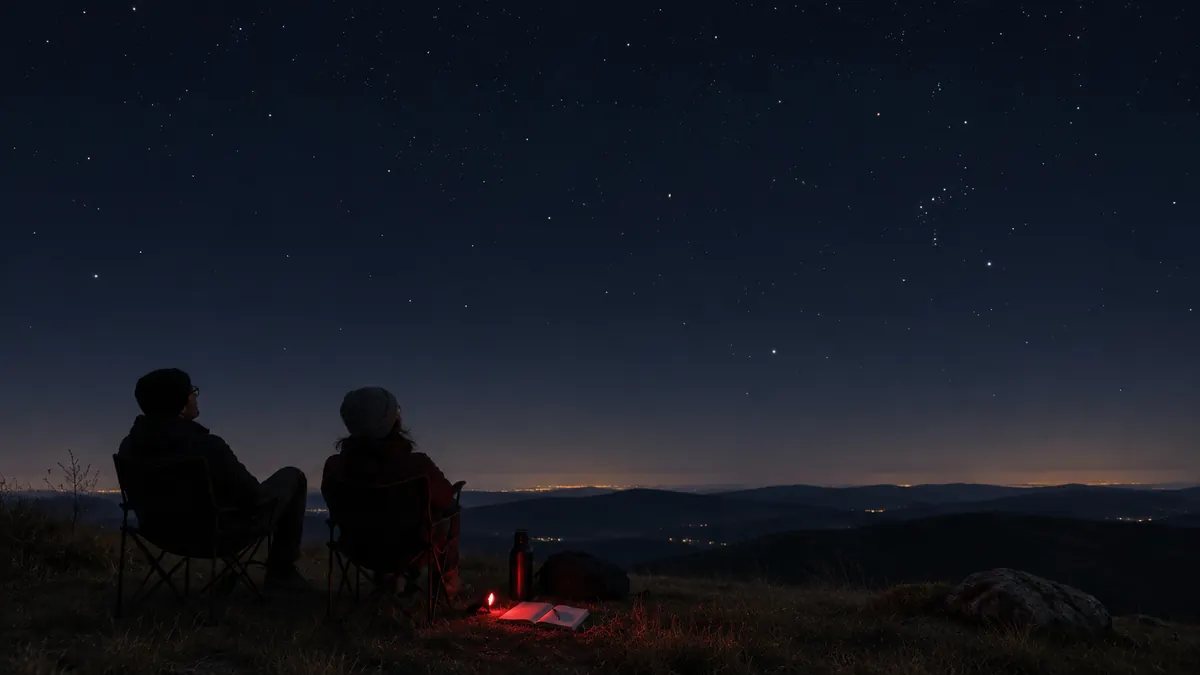
Begin with a short evening and one target
You do not need a telescope to start enjoying the night sky. Your first outing can simply involve identifying a bright pattern, following the Moon's changing position or learning which part of the sky is visible from home. A successful beginner session is not measured by the number of objects you name.
Plan a short visit with one achievable goal. “I will sketch the position of the Moon relative to a roofline” is more useful than “I will see everything.” The objects available depend on your location, date, time, weather and horizon. Use a current sky guide appropriate to your region rather than assuming that a photograph from another hemisphere shows what you will see tonight.
1. Choose a familiar, permitted place
NASA's guidance emphasizes darkness and a clear view, but you do not need to begin with a remote expedition. A familiar garden, a permitted open area or a nearby organized astronomy event can be a more practical first step. Check access rules and opening times before leaving. Avoid places where traffic, uneven ground or a sudden drop make looking upward unsafe.
Visit the spot in daylight if it is unfamiliar. Notice trees, buildings and bright lights that block parts of the sky. Decide where you can sit without obstructing a path. Bring suitable clothing, water and a way to return safely. The best beginner location is one you can use comfortably enough to pay attention to the sky, rather than one that makes the whole evening a logistical challenge.
2. Check conditions before you travel
Look at the weather forecast and cloud cover, then inspect the actual sky before setting out. A forecast is a planning aid, not a guarantee. The Moon can be a rewarding target in its own right, while its brightness can make faint objects harder to see. Choose your goal with those conditions in mind instead of treating every bright night as a failed session.
Write down the date, approximate observing time and location. These simple details make your notes meaningful later. If you use a sky chart or app, confirm its location and time settings. An incorrect setting can make an otherwise good guide confusing. Start with a broad orientation, then compare the pattern on the chart with the actual horizon around you.
3. Give yourself time to settle in
Avoid moving immediately from a bright indoor screen to searching for faint stars. Settle into your chosen spot and let your eyes become accustomed to the darker surroundings. NASA's skywatching guidance discusses dark adaptation and limiting bright light. A dim red light can be useful for notes without flooding the area with white light.
Prepare your phone before the session so you are not repeatedly opening a bright screen. Keep the information you need easy to reach. If other people are observing nearby, ask before using a flash or bright torch. This is both considerate and practical: a quiet, predictable setup helps everyone remain focused on the same part of the sky.

4. Observe one pattern carefully
Select a prominent target that your local guide identifies for that time. Instead of immediately searching for a second object, study the first. Where is it relative to the horizon? Does it form a recognizable shape with nearby stars? Can you describe the arrangement without looking back at the chart?
Try making a rough sketch with dots and a horizon line. It does not need to be artistic or precisely scaled. The purpose is to record what you actually noticed. Write “uncertain” beside an identification you have not confirmed. Learning to separate observation from a guess is more valuable than attaching a confident name to every point of light.
5. Keep a three-line sky journal
After the session, record what you intended to see, what you actually saw and what made the observation easier or harder. For example: “Wanted to identify one pattern; found three bright stars but could not confirm the shape; a nearby light obscured the lower sky.” That is a useful record, even though the identification remains incomplete.
On your next visit, change one thing. You might choose a different permitted position that shields the light or observe at another time. Keep the rest of the setup similar so you can compare. Over several evenings, you will learn more about your local sky and horizon than you would by buying equipment before understanding where and when you can use it.
What should you buy, and what if nothing is visible?
For a first session, a chair, suitable clothing and simple notes may be enough. Consider joining a local astronomy group's public event before buying a telescope. It gives you a chance to ask questions and understand different equipment in context. No instrument can remove clouds or make every object visible from every location.
If the sky is covered, use the time to learn your chart and plan another date. Do not turn a night-sky outing into an attempt to look at the Sun; direct solar observation requires appropriate specialist safety measures. Keep this beginner activity to the night sky. Returning with one accurate observation and a reason to look again is a worthwhile first result.